
Full honesty: I'm not a great colorist. I admire the gorgeous colorings people share in our community and think "How do they do that?"
Shading is a big part of the answer. And when our designers put together this tutorial, something finally clicked for me. It turns out it's way more approachable than it looks! You really don't need to be an artist to make your coloring feel dimensional and alive.
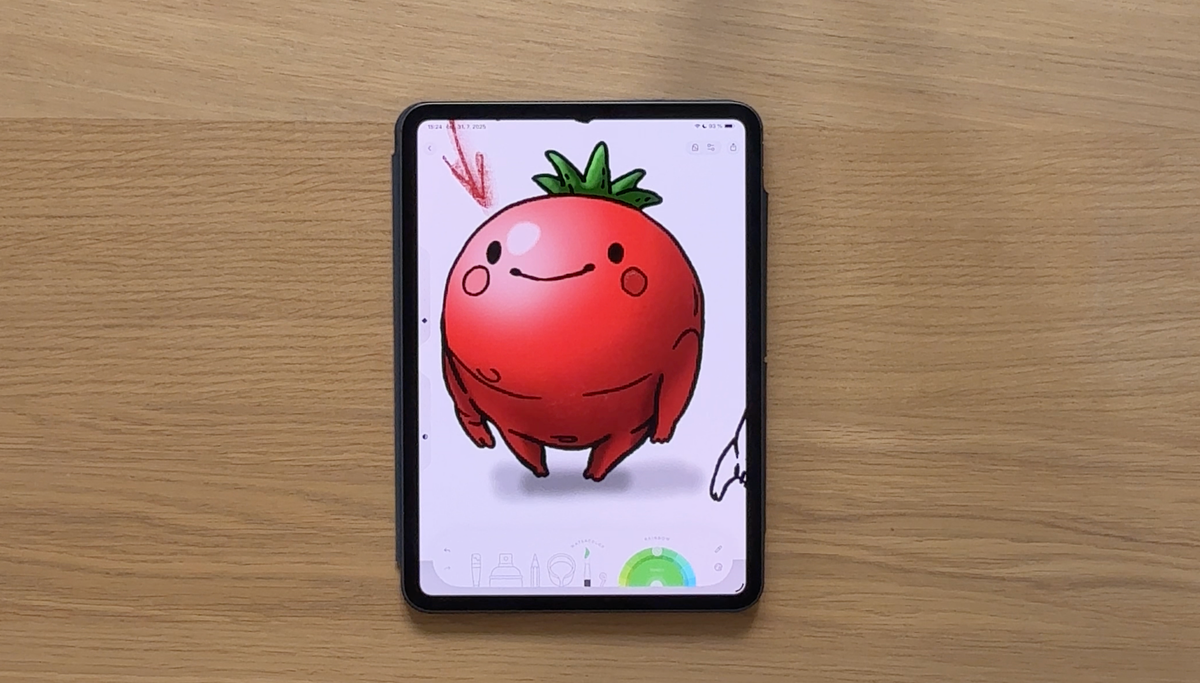
So if you've ever stared at a flat fill and wished it had a little more something, this one's for you. 🍅
What Is Shading and Why Does It Matter?
Shading is the technique of adding lighter and darker areas to a flat color fill to create the illusion of three dimensions. Without it, a circle is just a circle. With it? It becomes a sphere. A tomato. Something that looks like it exists in space. The good news: you don't need to be an artist or understand complex lighting theory to make it work. A few intentional brushstrokes go a very long way.
Step 1: Choose the Right Base Color
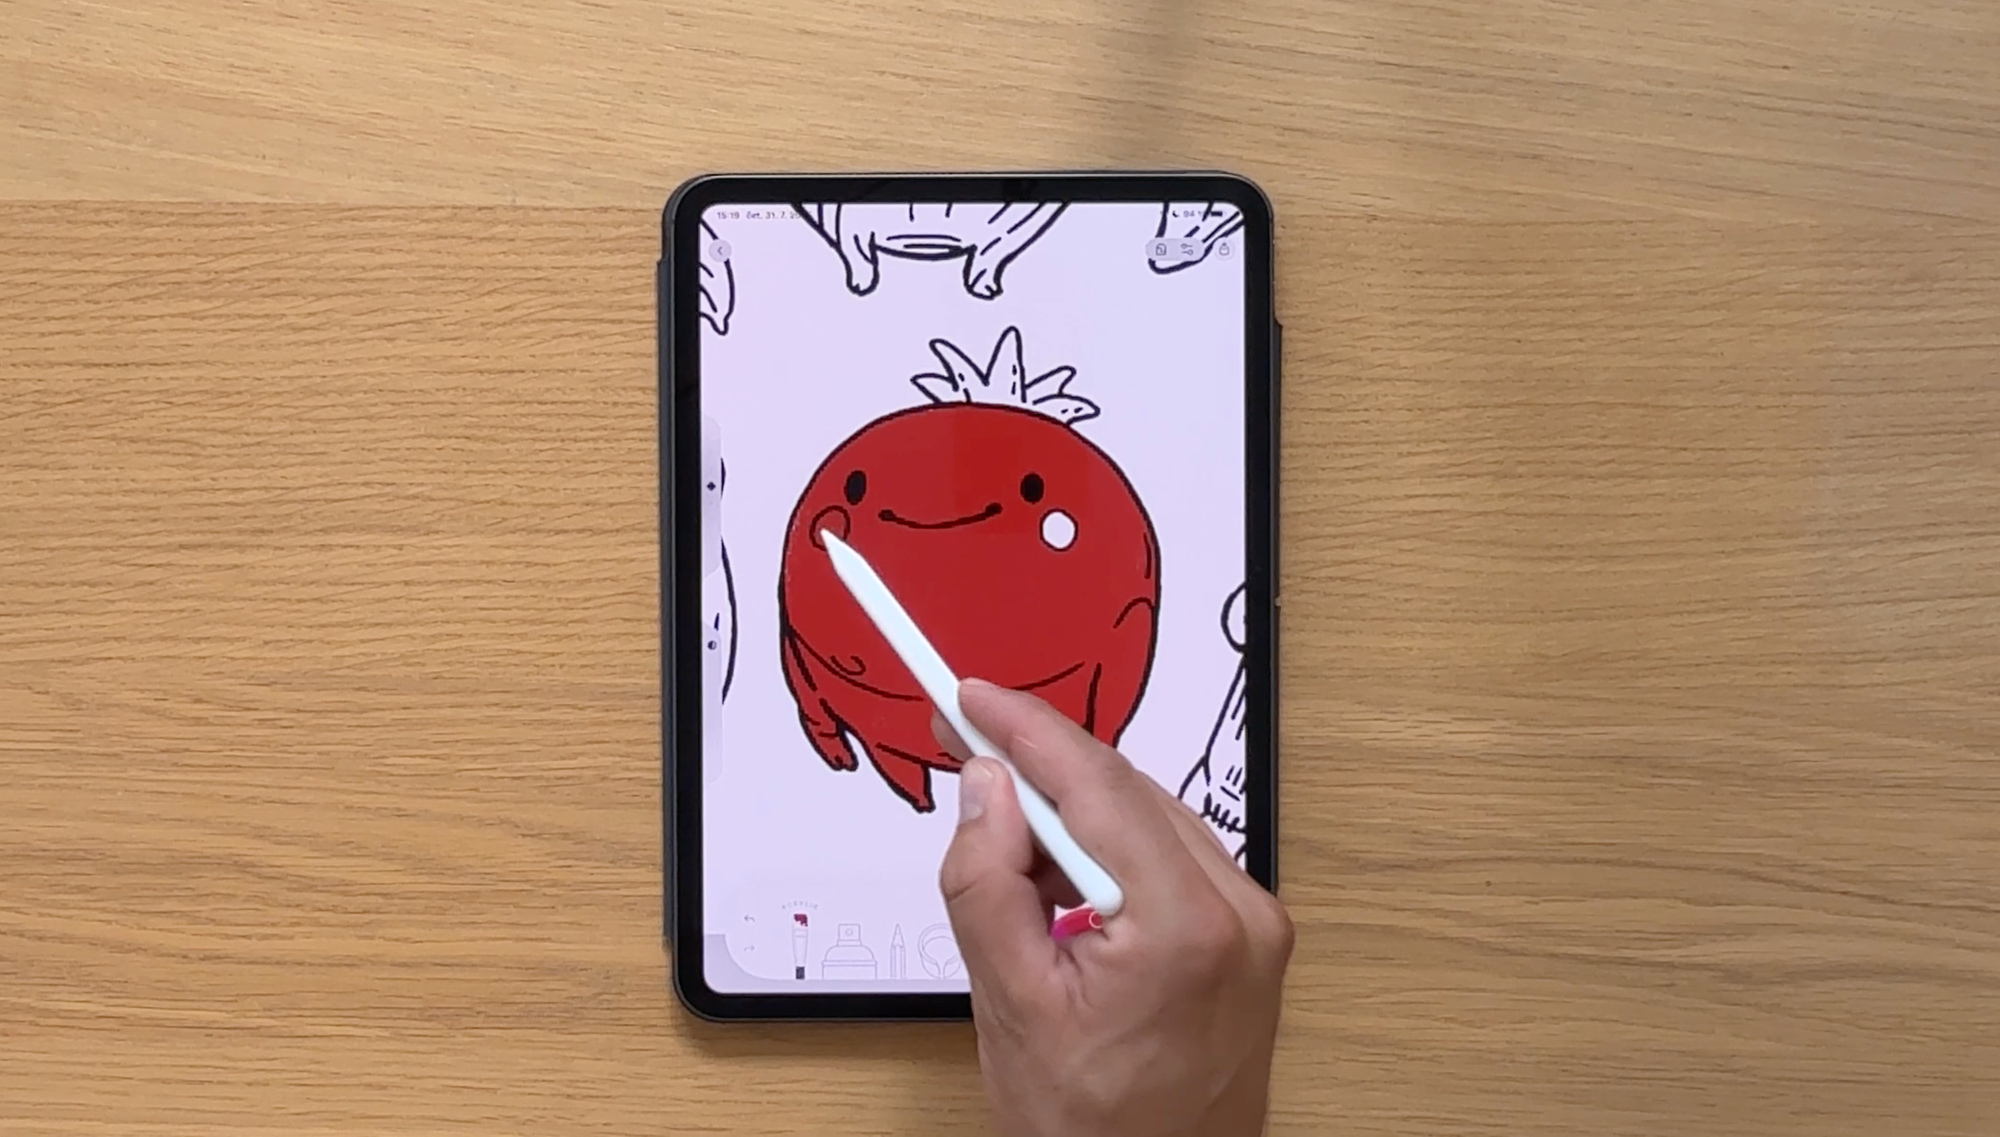
Before any shading happens, you need a solid base color and the color you choose matters more than you might think.
Aim for a mid-range tone: not too bright, not too dark. This gives you room to go lighter for highlights and darker for shadows without either end feeling extreme or muddy.
For the tomato in this tutorial, that means a medium red - not neon, not burgundy. Right in the middle.
Step 2: Decide Where the Light Is Coming From
This is the single most important decision in shading and you only have to make it once per illustration.
Pick a light source and commit to it. In this tutorial, the light comes from the top left. That means:
- Areas facing the light → will be brighter
- Areas facing away from the light → will be darker
That's it. Everything else follows from this one choice.
Step 3: Add a Highlight and a Shadow (The Simple Version)
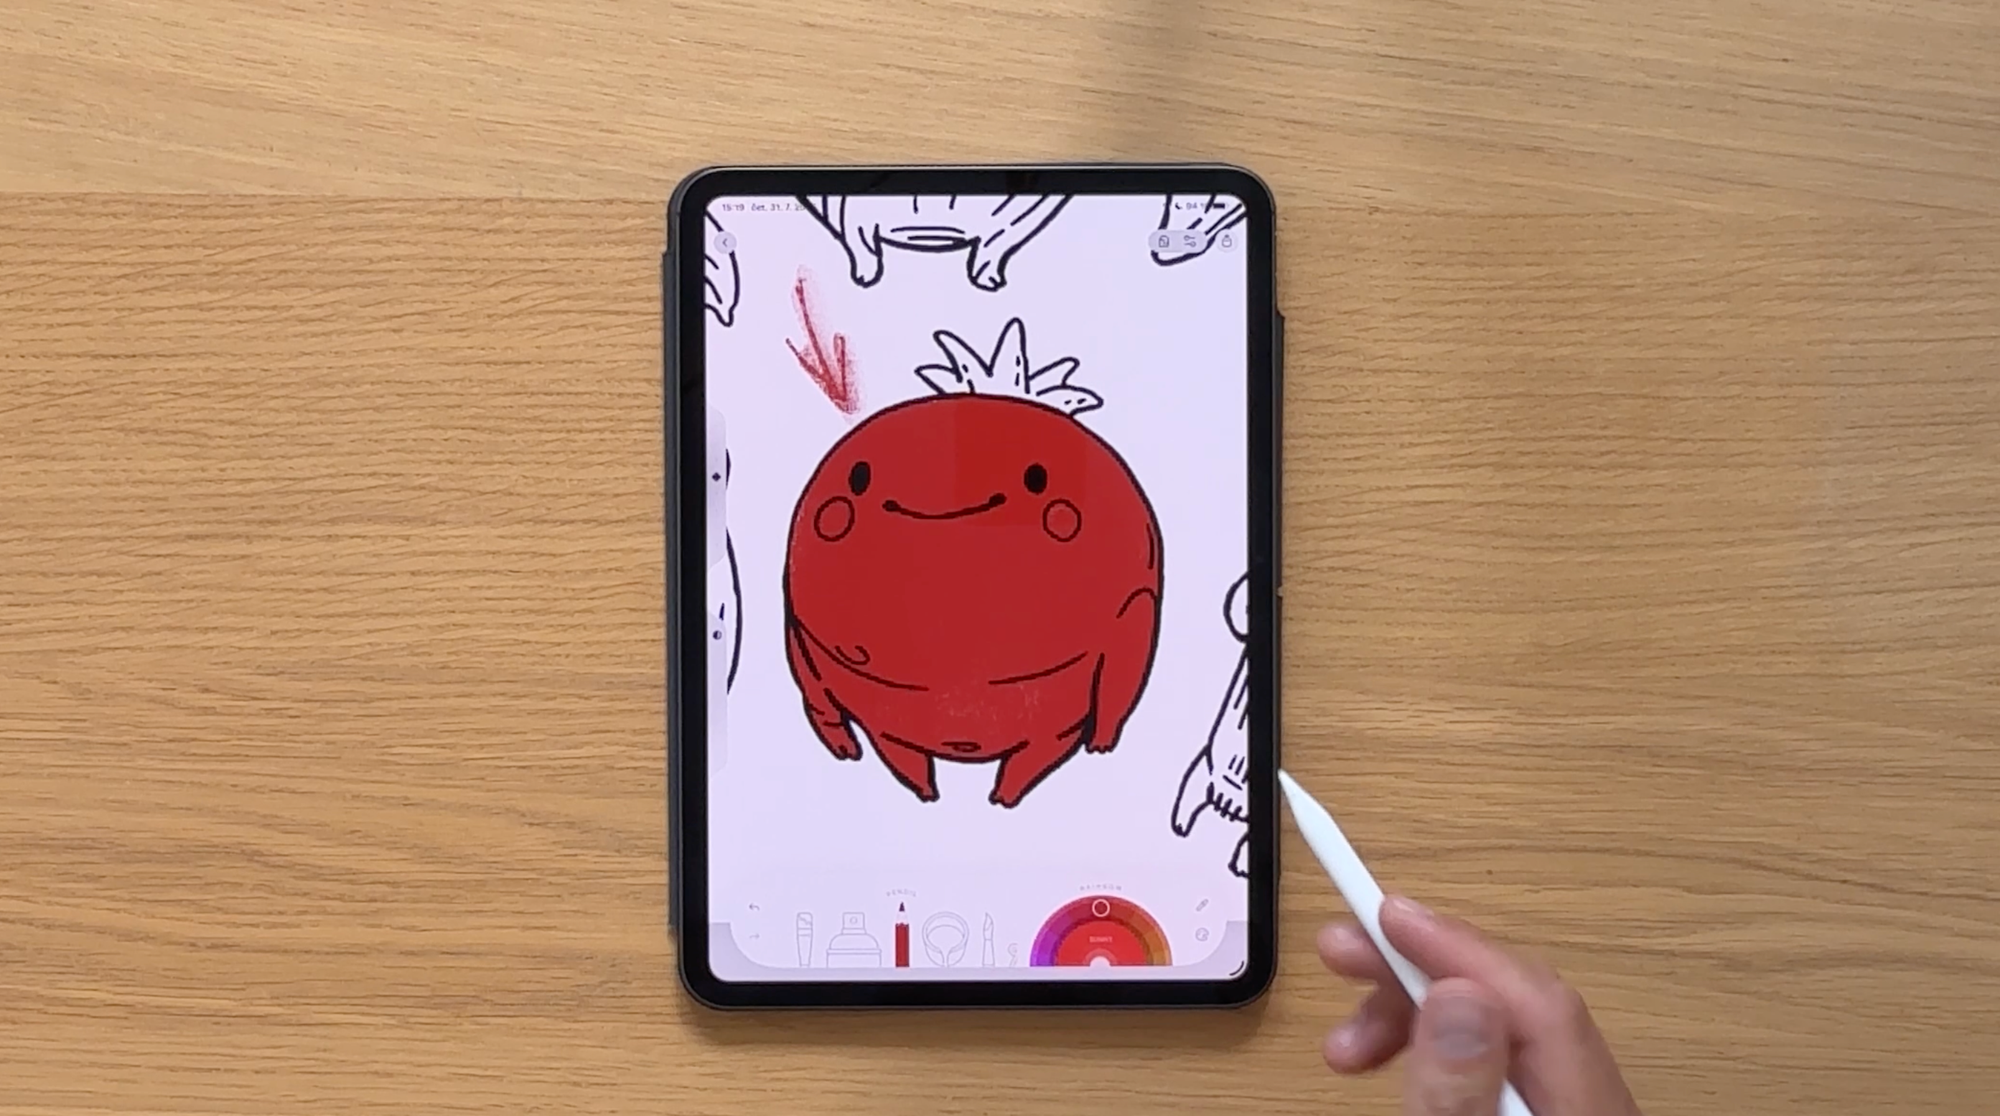
This is where your flat fill starts to become something dimensional.
Using a soft brush (the watercolor brush works beautifully here - it gives you that gentle, blended edge), do two things:
- Paint a lighter area on the side facing the light → this is your highlight
- Paint a darker area on the opposite side → this is your shadow
That's genuinely all it takes for a simple 3D effect. Two brushstrokes. Done. ✨
If you want to stop here, your coloring will already look infinitely more polished than a flat fill. But if you want to go further...
Step 4: Understand the Full Lighting Breakdown (For More Realism)
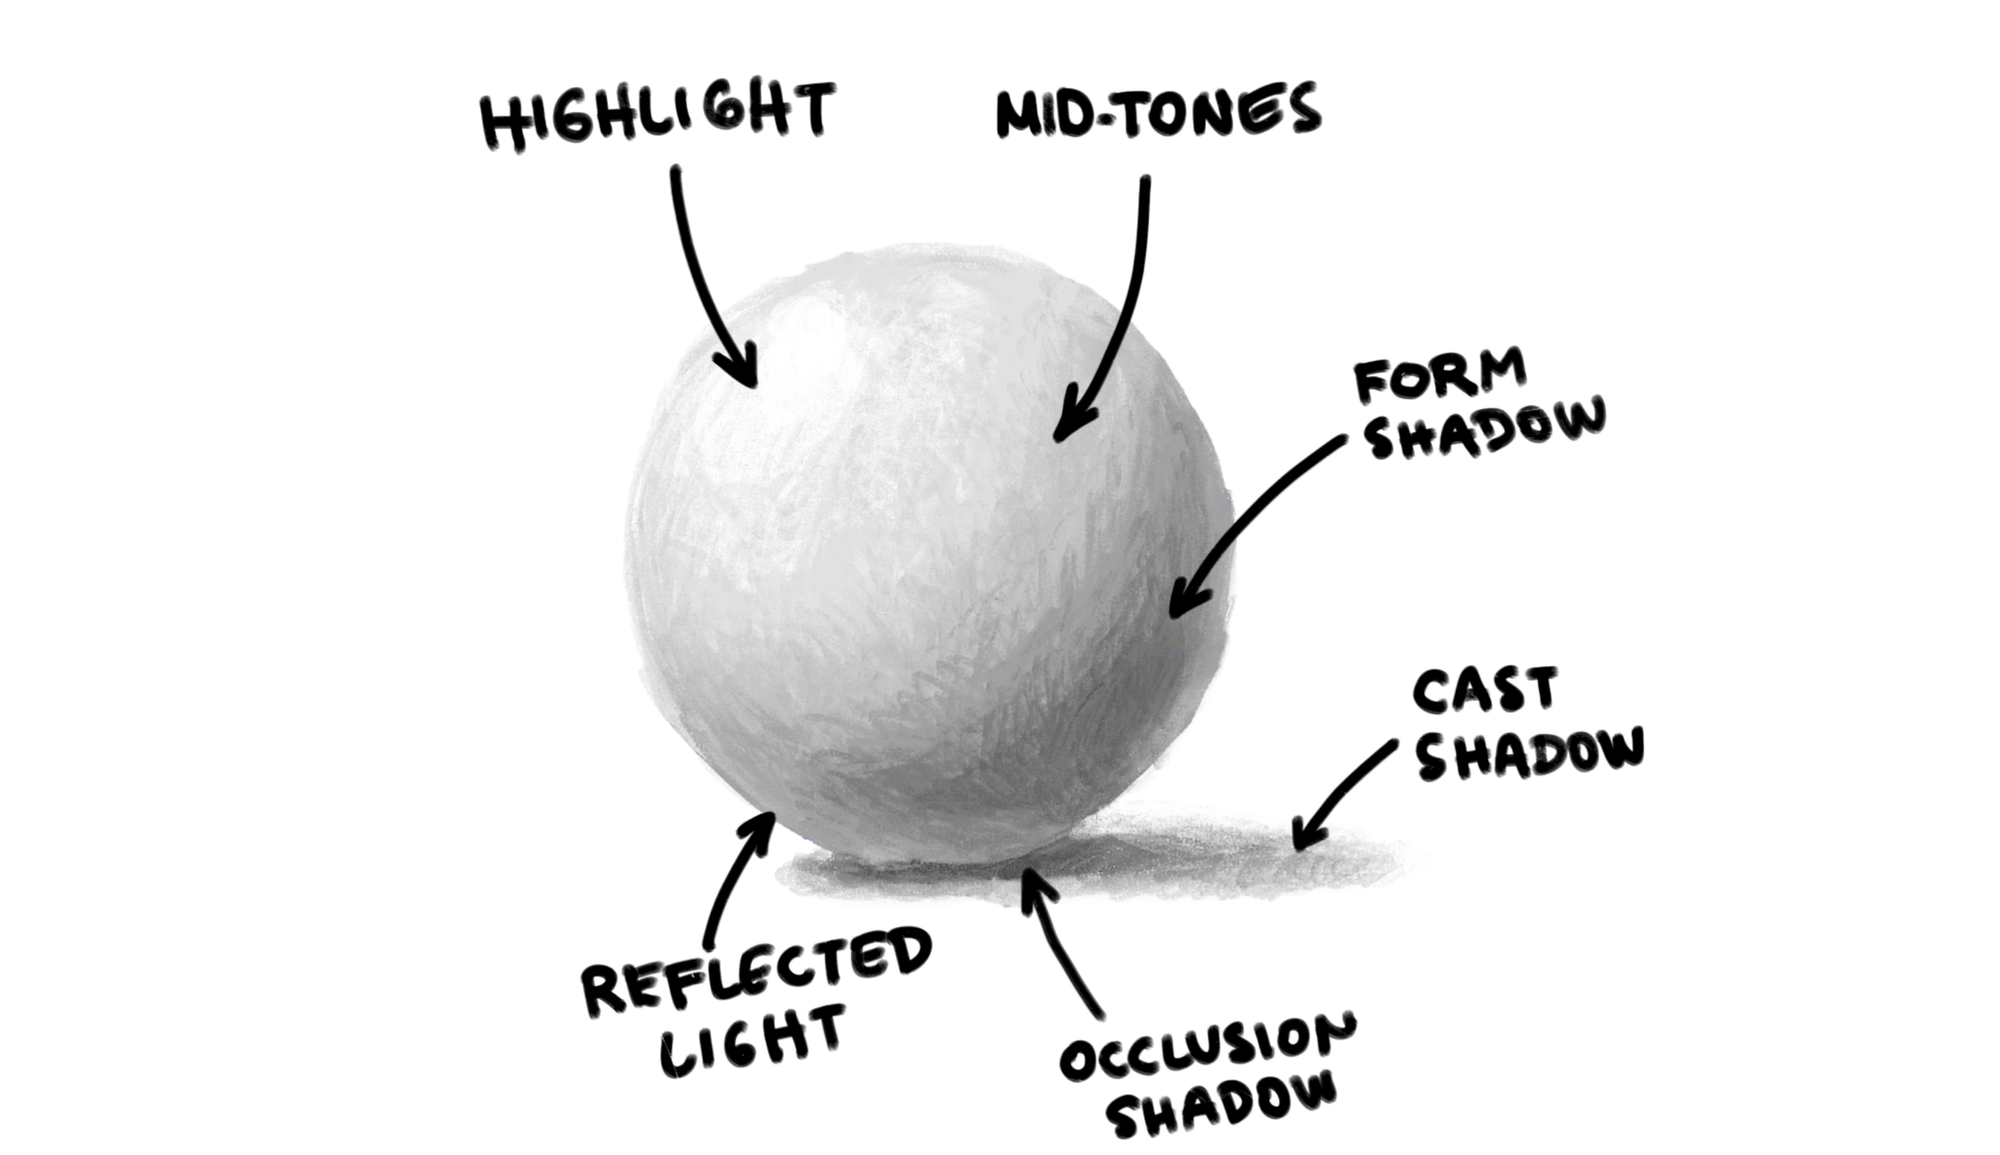
When light hits a sphere (or anything sphere-like — an apple, a bubble, a tomato), it doesn't just create one bright spot and one dark spot. There are actually five distinct zones:
- Highlight — The brightest point, where light hits most directly
- Mid-tones — The base color zone; areas not in direct light or deep shadow
- Reflected light — A subtle lighter area along the shadow side, where surrounding light bounces back onto the object
- Form shadow — The shadow the object casts on itself
- Cast shadow — The shadow the object throws onto whatever it's sitting on
- Occlusion shadow — The darkest, most concentrated shadow right where the object meets the surface beneath it
You don't have to include every single one of these in every coloring — but knowing they exist changes how you see light, which changes how you color.
Step 5: Use a Reference Photo
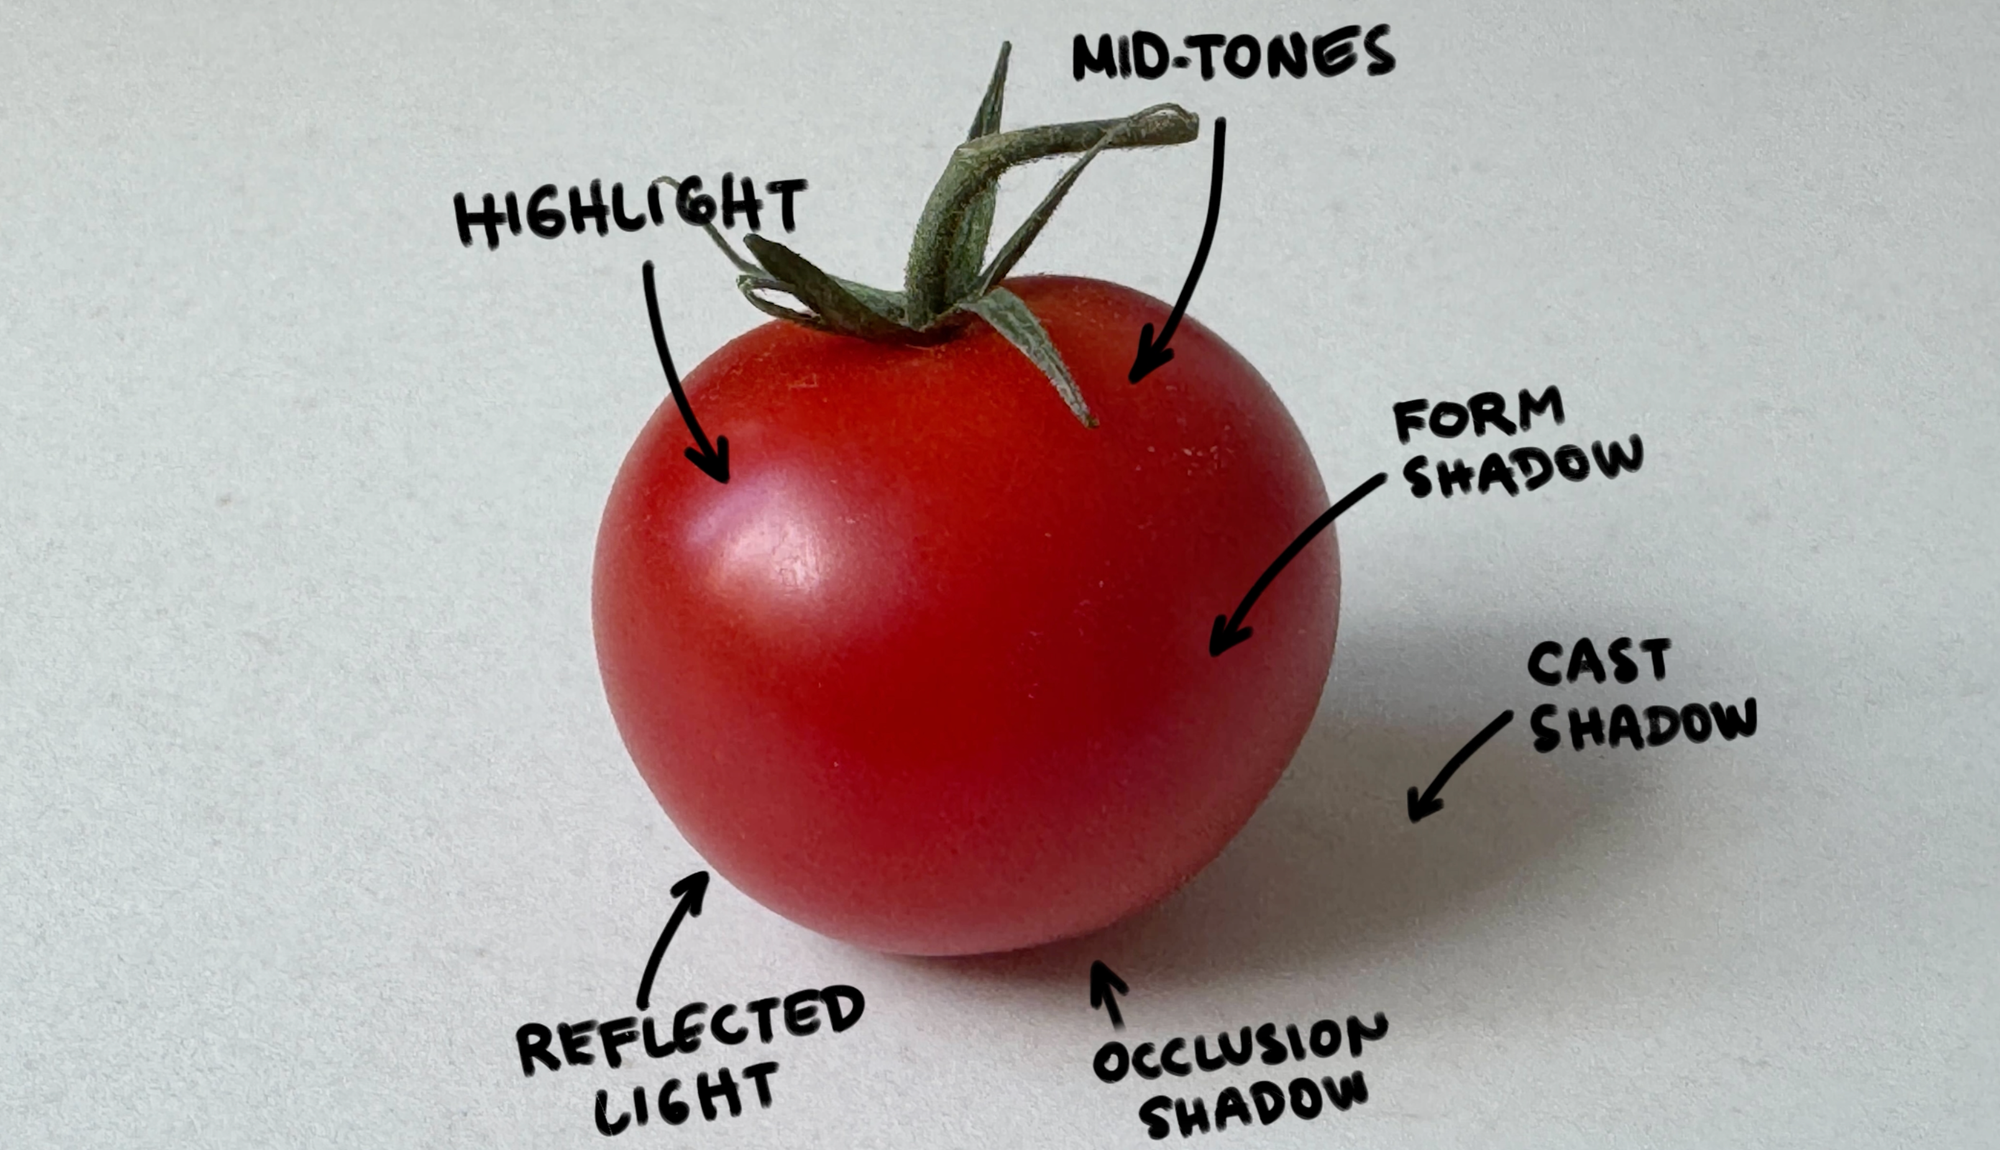
Here's a trick our designers swear by - and once they shared it with us, we started seeing it everywhere: look at a photo of the real thing.
A reference photo tells you things you can't guess:
- Is the surface glossy or matte? (Glossy = sharper, brighter highlight)
- Where exactly does the form shadow fall?
- How strong is the reflected light?
For the tomato, the reference photo shows a glossy skin with a bright, concentrated highlight - so a crisp white spot tends to work better than a soft, diffused one.
You're not copying it, just letting it guide you.
Step 6: Apply All Five Zones to Your Coloring
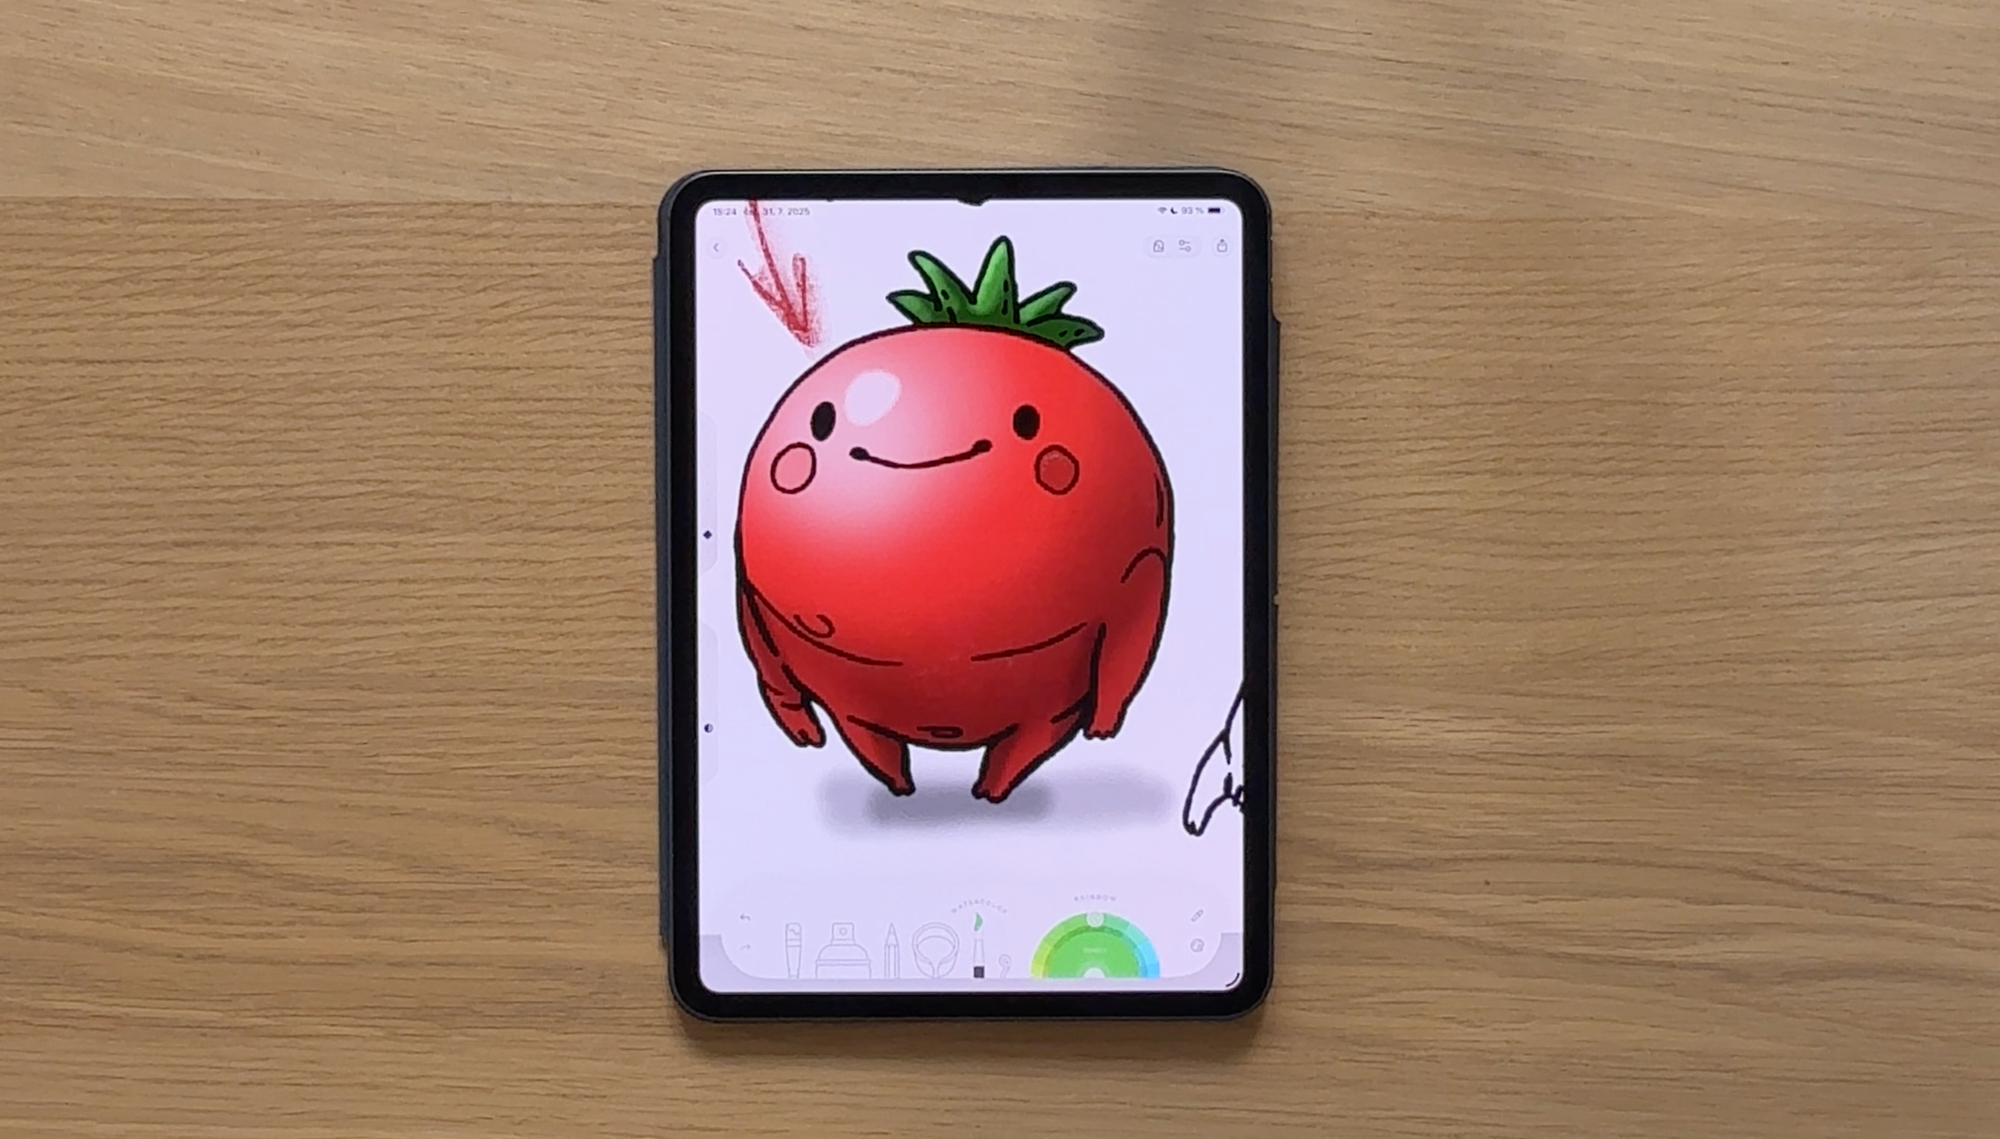
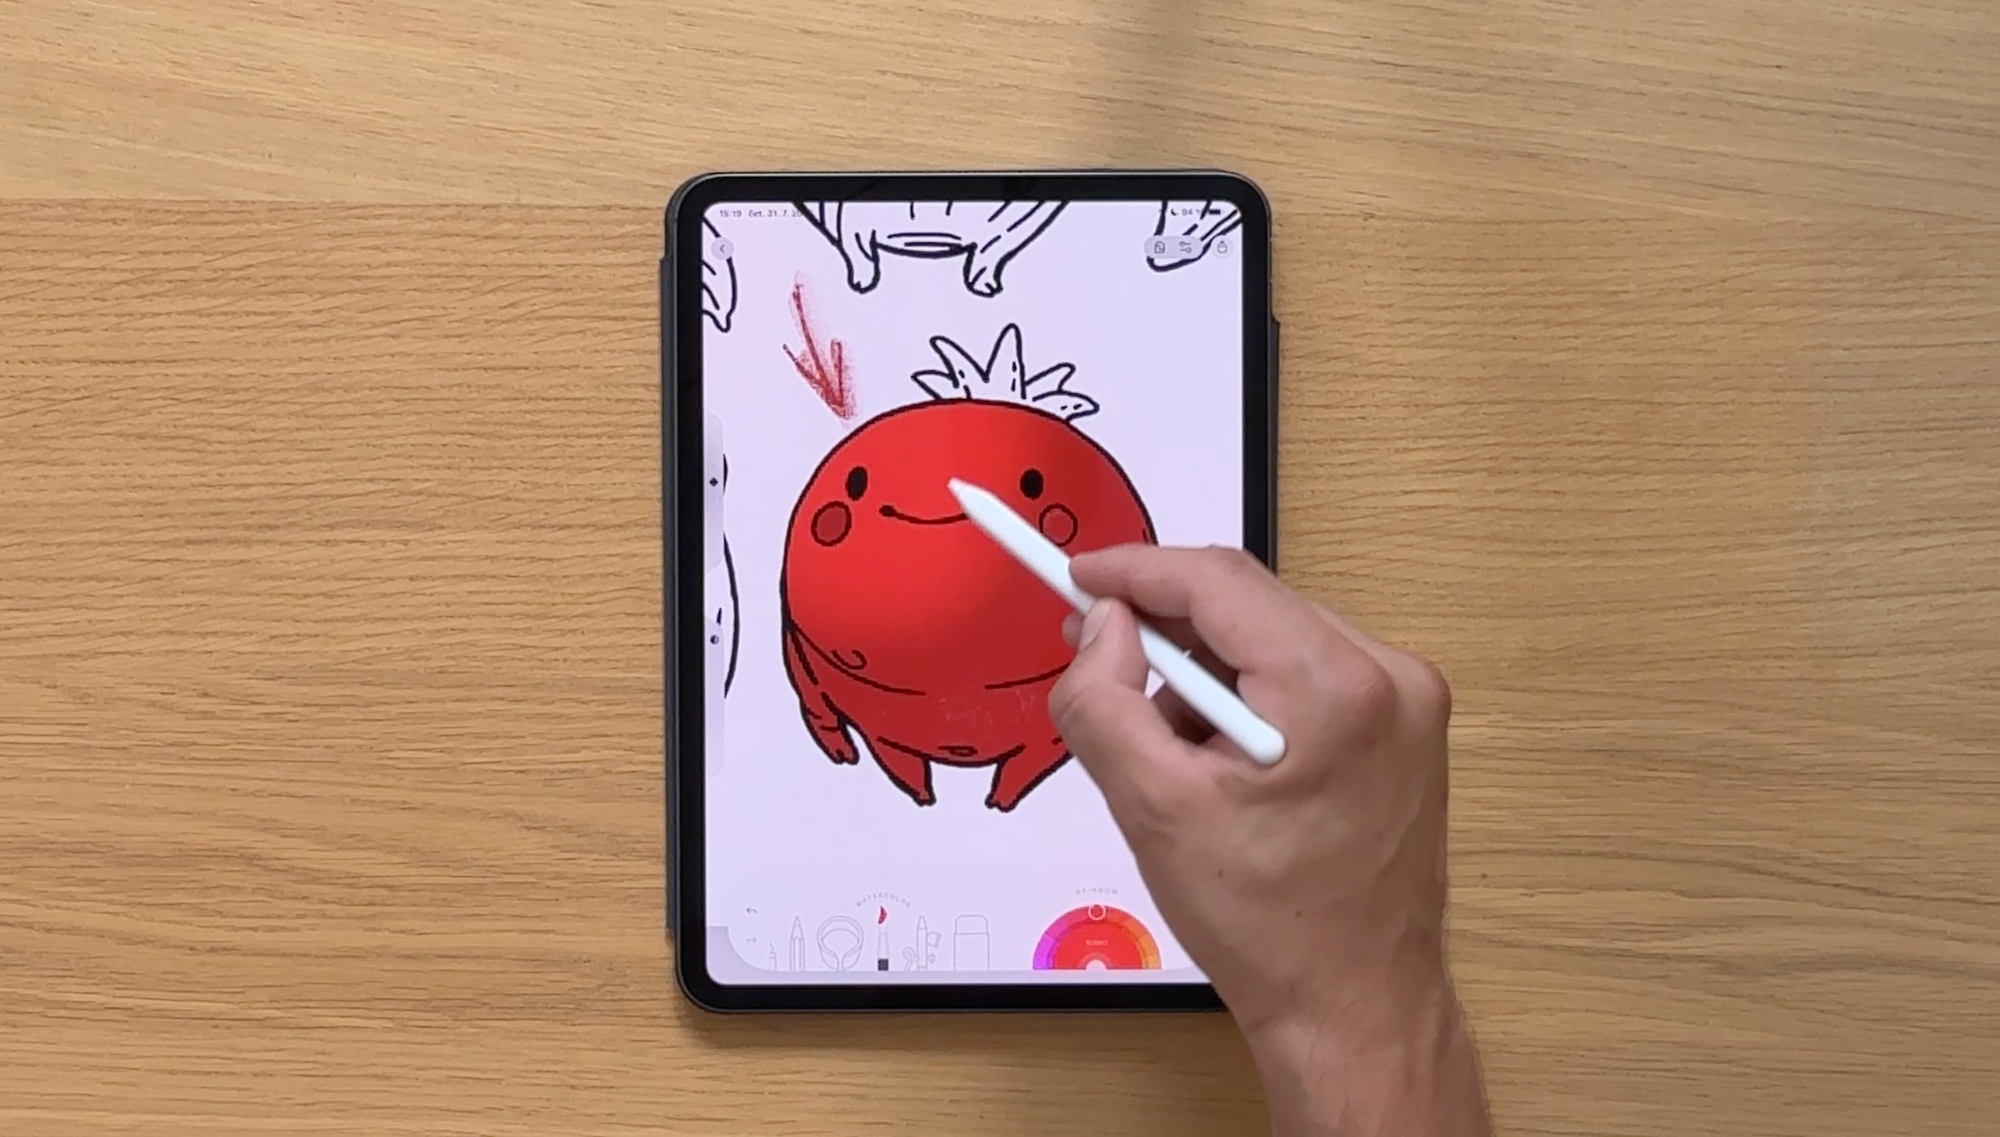
Now it all comes together. Working on the tomato, layer by layer:
- White (or near-white) for the brightest part of the highlight
- A lighter red along the shadow edge for the reflected light
- A darker red for the form shadow
- Deep shadow directly beneath the tomato for the cast shadow and occlusion shadow
- Smaller occlusion shadows in any nooks and crannies - like where the leaves meet the tomato body
Then repeat the same logic for the green leaves on top: highlights where each leaf faces the light, shadows on the underside. The shape of each leaf tells you exactly where to put them.
Step 7: Apply the Same Logic to Other Shapes
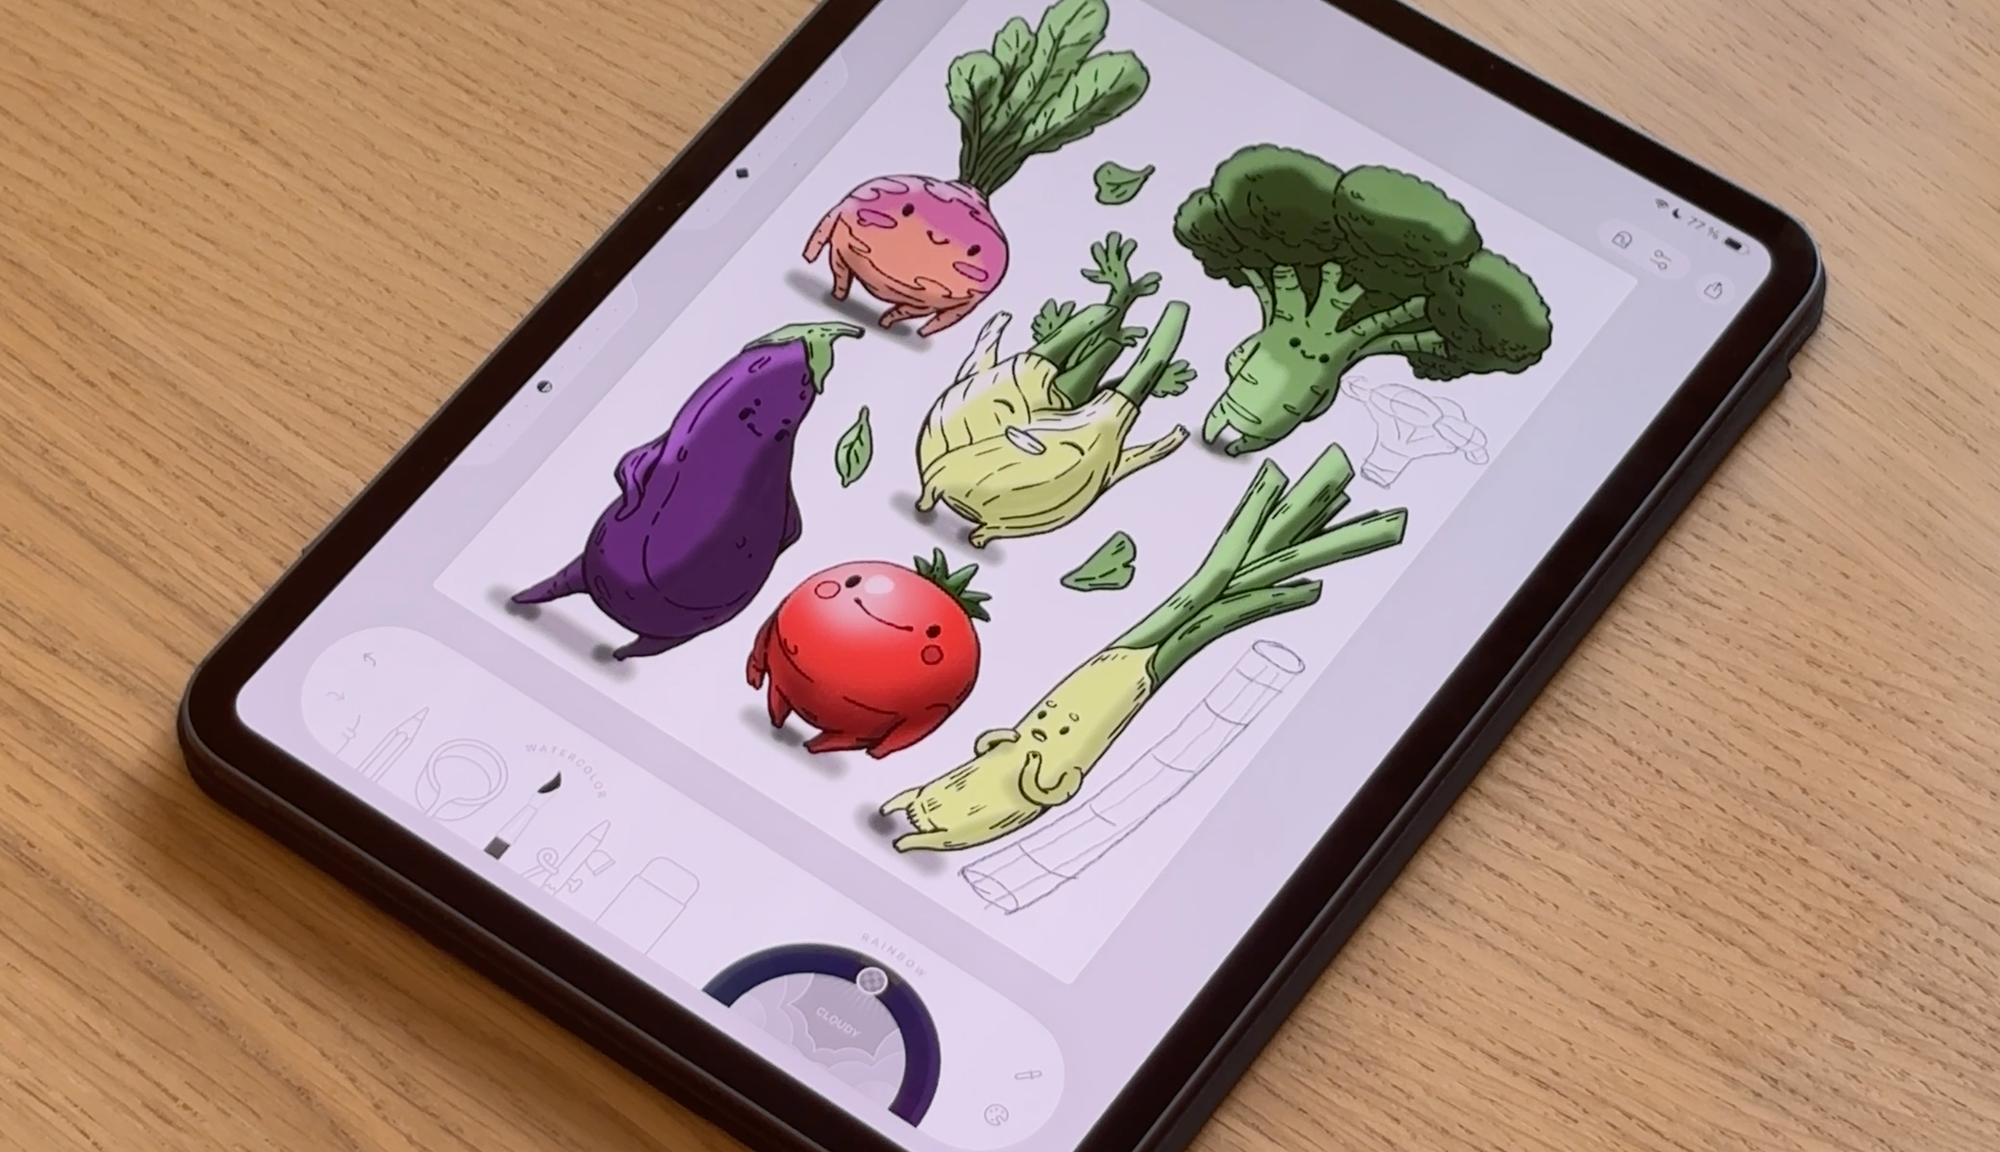
The tomato is a sphere. But what about other shapes?
The trick is to break complex shapes down into simple 3D forms:
- A leek is essentially a cylinder → light wraps around the middle, with one bright side and one dark side
- Broccoli is more complex — but once you see it as a collection of small spheres sitting on top of a cylinder, it becomes totally manageable
Start with mid-tones, add highlights, then build in shadows. Let the shape of the object guide you. It always will.
Simple or Realistic - Both Work
Here's the thing about shading: there's no wrong version.
The quick two-step method (highlight + shadow) creates volume. The full five-zone method creates realism. Both are valid. Both will make your coloring look better than a flat fill.
Don't get hung up on doing it perfectly. Start simple, experiment, and notice how even the smallest amount of shading transforms what you're working on.
You might surprise yourself with how much depth you can create with just a few extra brushstrokes. 🌿
Watch the full video tutorial below and follow along in real time.
Sometimes seeing every brushstroke makes all the difference.✨
Try It in Lake
All of these techniques work beautifully inside Lake, where the watercolor brush, adjustable opacity, and intuitive layer system give you everything you need to experiment with shading - without any of the mess.
New to Lake? It's a digital coloring app designed to feel as natural and satisfying as coloring with real materials — with a growing library of stunning illustrations to color, a vibrant community to share your work, and tutorials like this one to help you keep growing.
FAQ: Shading in Digital Coloring Apps
Do I need to use layers to shade digitally? You don't have to, but layers make shading much easier - especially for beginners. Working on a separate layer means you can adjust or erase your shading without touching your base color. In Lake, layers are built right in and easy to use.
What's the best brush for shading in a coloring app? A soft brush with slightly reduced opacity is your best friend for shading. The watercolor brush works especially well because it blends naturally at the edges, giving you that smooth transition between light and shadow instead of a harsh line.
What's the difference between a highlight and reflected light? The highlight is the brightest point on an object - where the main light source hits directly. Reflected light is subtler: it's the soft glow that bounces back onto the shadow side of an object from surrounding surfaces. It stops shadows from looking too flat or heavy.
Do I need a reference photo to shade well? Not always - but it helps more than most people expect. A quick photo of a real tomato, apple, or whatever you're coloring tells you exactly where the highlights fall, how sharp or soft the shadows are, and whether the surface is glossy or matte. You're not copying it, just learning from it.
Is realistic shading the only way to go? Not at all. A simple highlight and shadow is enough to create volume and make your coloring look finished. Realism is one option, not the goal. The best shading style is the one you enjoy doing.
